How to make pasta at home with just flour and eggs. Plus get a FREE 'How to Make Pasta Guide' to download and keep. All the joy and fun of making perfect pasta at home without the stress of it going wrong. Make this pasta with or without a machine and get my handy tips on how to roll, cut and store your homemade fresh pasta.
Jump to:
Please note that this post contains affiliate links, which means if you click the link and then go on to purchase, I will receive a percentage of the cost. See my privacy policy and disclosure statement for further details.
👩🏻🍳 Why make this recipe
This recipe shows how easy it is to make pasta from scratch. The pasta itself requires little more than finely milled flour, large eggs and a bit of elbow grease. Below I'll walk you through the simplest way to make a pasta dough. Theres also handy tips on how to knead the pasta dough and how to roll it out. All by hand with no machine required.
🥘 Ingredients
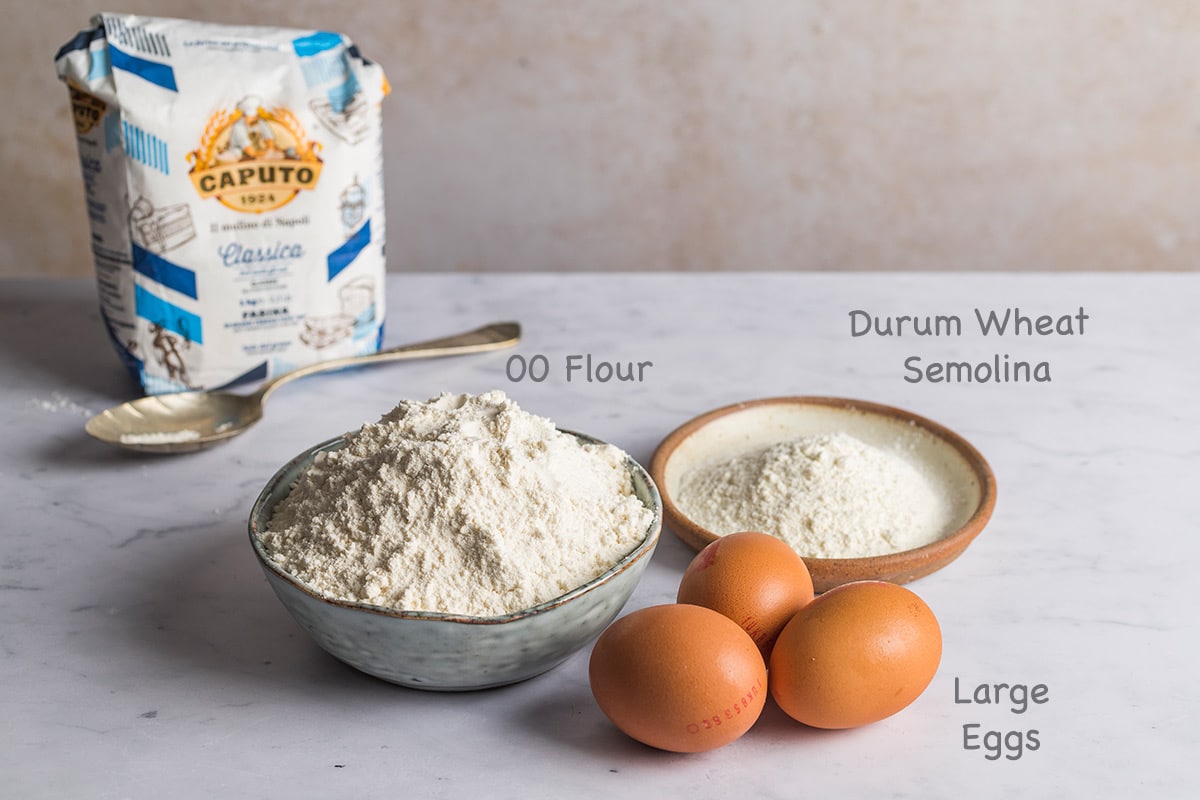
This recipe makes enough pasta to serve 3 people (or 4 starter-sized portions):
Ingredient notes
Measurements: For the amounts required, see the recipe card below and also use the toggle button to see the recipe in cups.
Flour: 00 flour (finely ground Italian flour) is the best for making pasta. This is the finest of the Italian flours and so produces a lovely, soft pasta dough. 00 flour is also the best flour for making pizza dough. If you can't get hold of any 00 flour you can replace with a strong white bread flour for similar results.
Eggs: Make sure the eggs are large and fresh.
Durum wheat semolina: Durum wheat semolina isn't strictly necessary, although it adds a nice flavour and crunch. Its main use is to sprinkle onto the rolled out dough before rolling into a tube and slicing. The semolina stops the pasta dough from sticking together. However, 00 flour can also help with this.
🔪 Step by step instructions
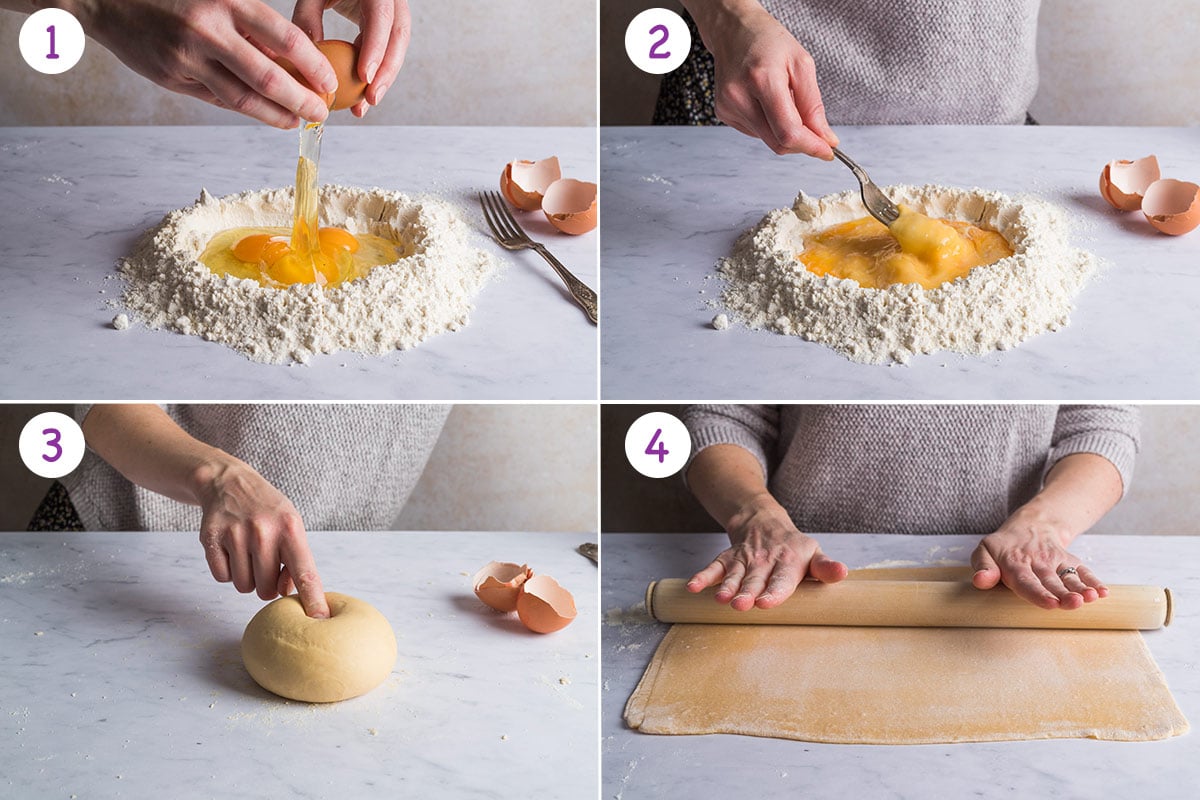
- Place the flour on a clean work surface and make a large well in the middle. Next, crack 3 large eggs into the well.
- Use a fork to gradually mix the flour into the eggs. Start from the middle and work outwards.
- Once most of the flour has been combined, use your hands to bring together into a dough. Knead for at least 15 minutes until smooth before shaping into a ball (see expert tips below for full instructions on kneading). Split the ball in half, wrap each half in cling film and place both in the fridge to rest for 30 minutes.
- After resting roll each half separately. Flour the work surface and use a large, heavy rolling pin to evenly roll out the dough. For best results roll as thin as possible. See expert tips below for evenly rolling into a rectangle.
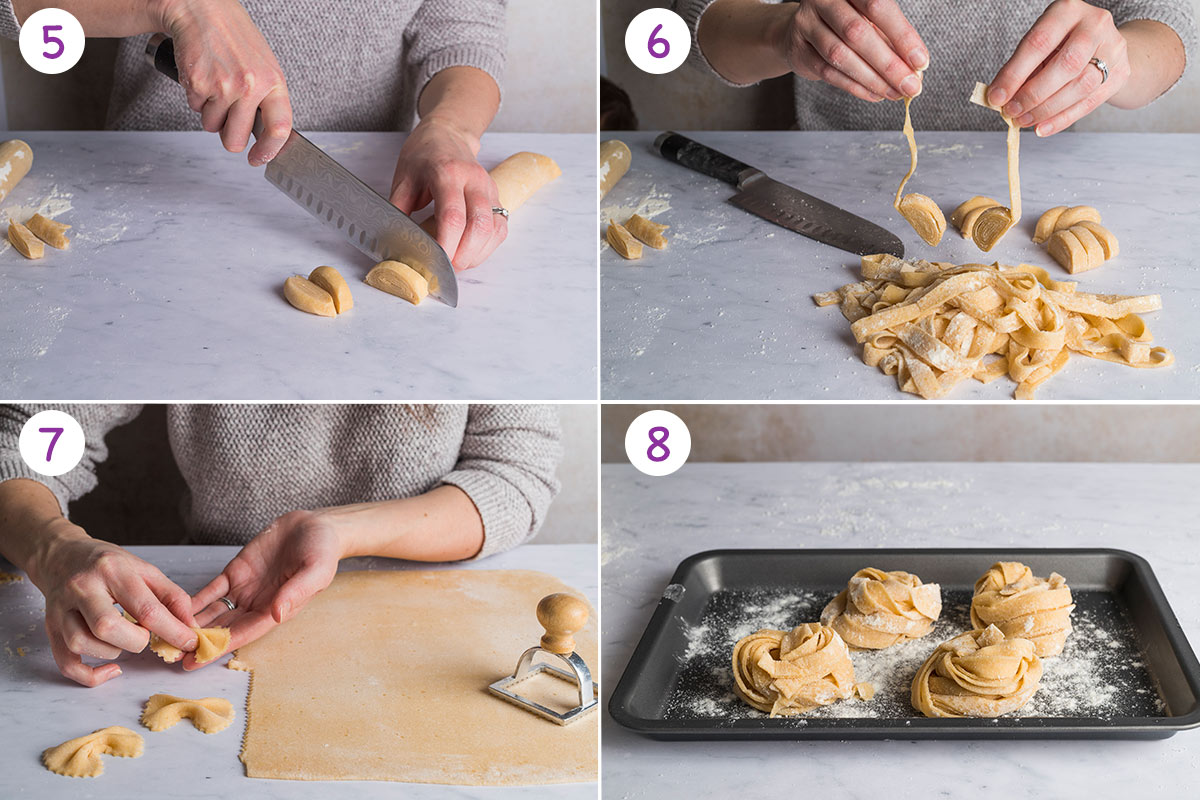
- Sprinkle the thinly rolled out dough generously with the semolina to stop it sticking to itself when making pasta strips. Then roll the full rectangle of dough into a tube shape, trim off the untidy ends then cut into: half cm strips for tagliatelle; 1mm thin strips for spaghetti; or one and a half cm strips for pappardelle.
- Take the ends of the sliced strips and pull upwards allowing the weight of the dough to unravel the strips.
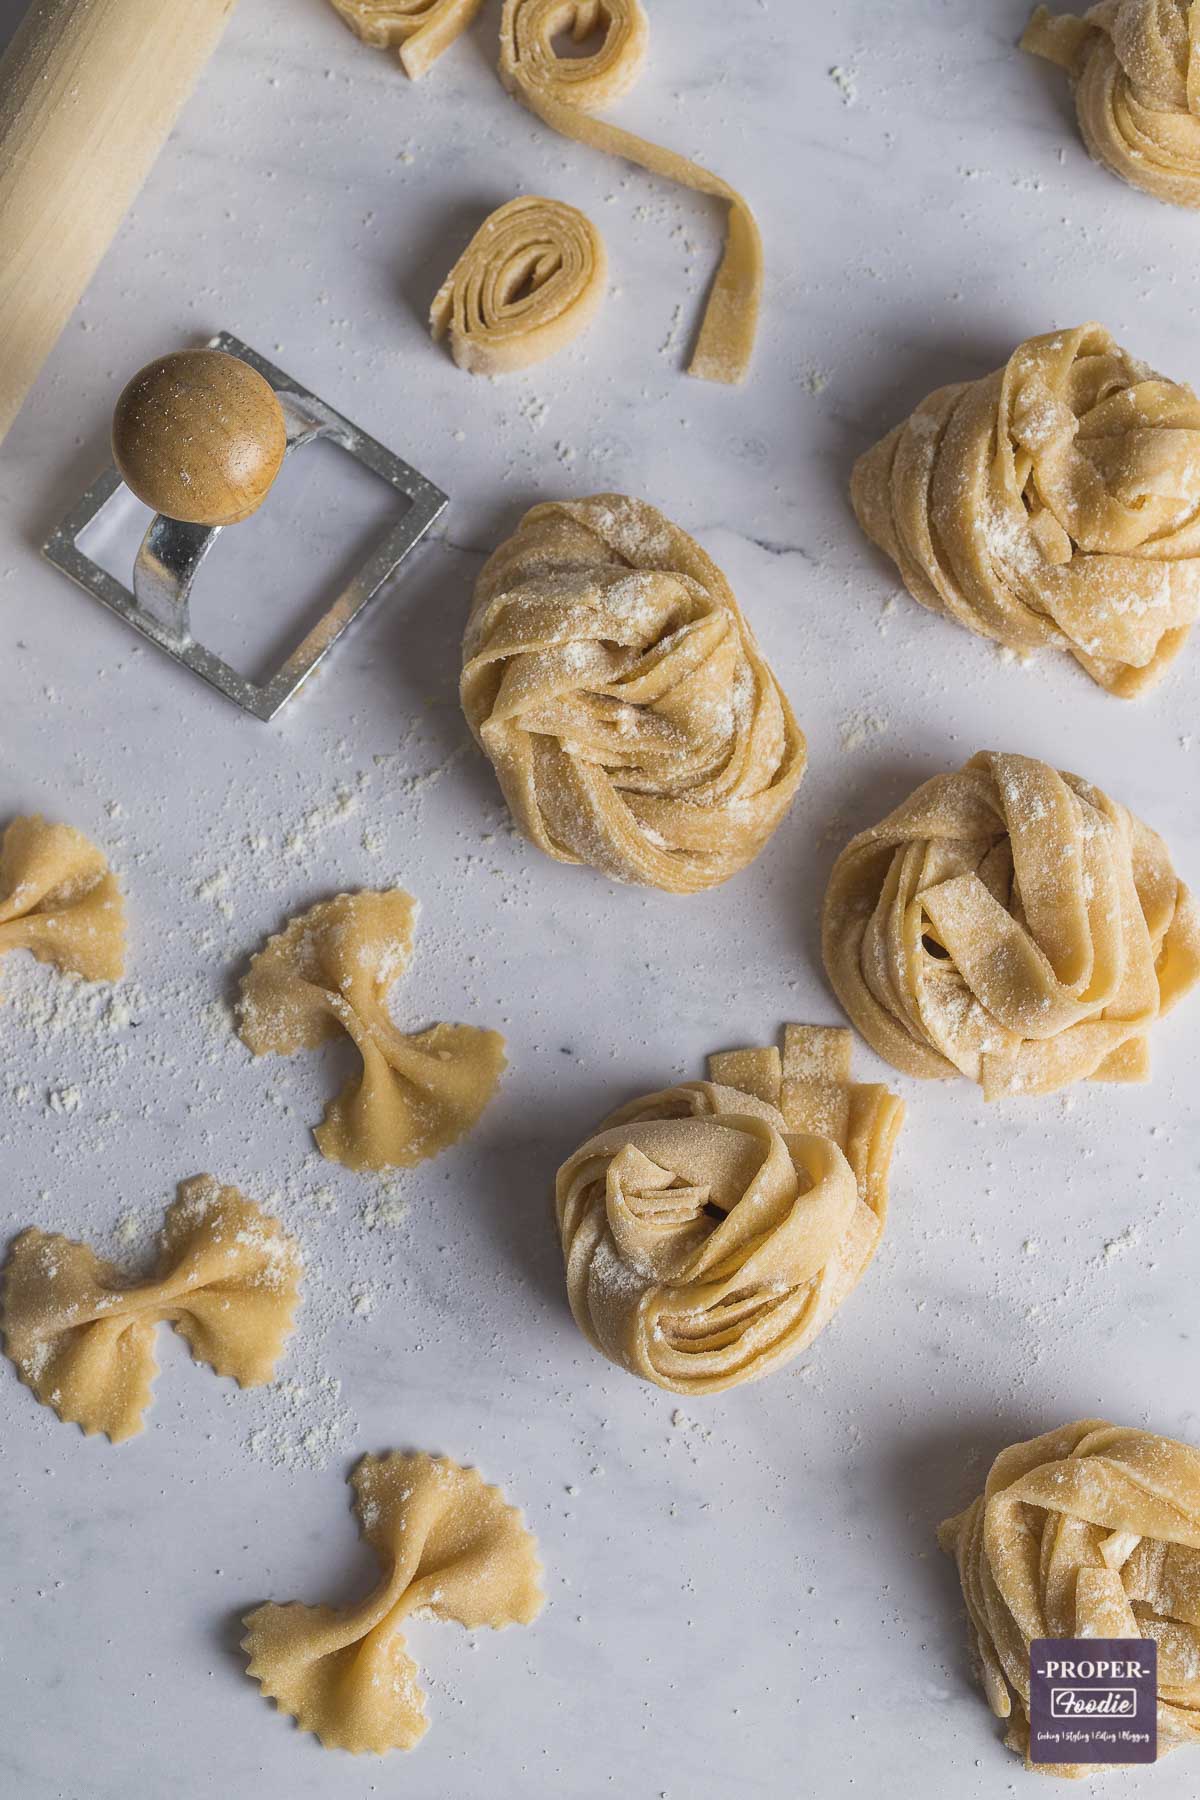
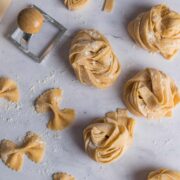
- Alternatively, leave the dough flat and cut out squares with a square pasta cutter and pinch into farfalle (butterfly) pasta shapes. Or why not have a go at making your own ravioli.
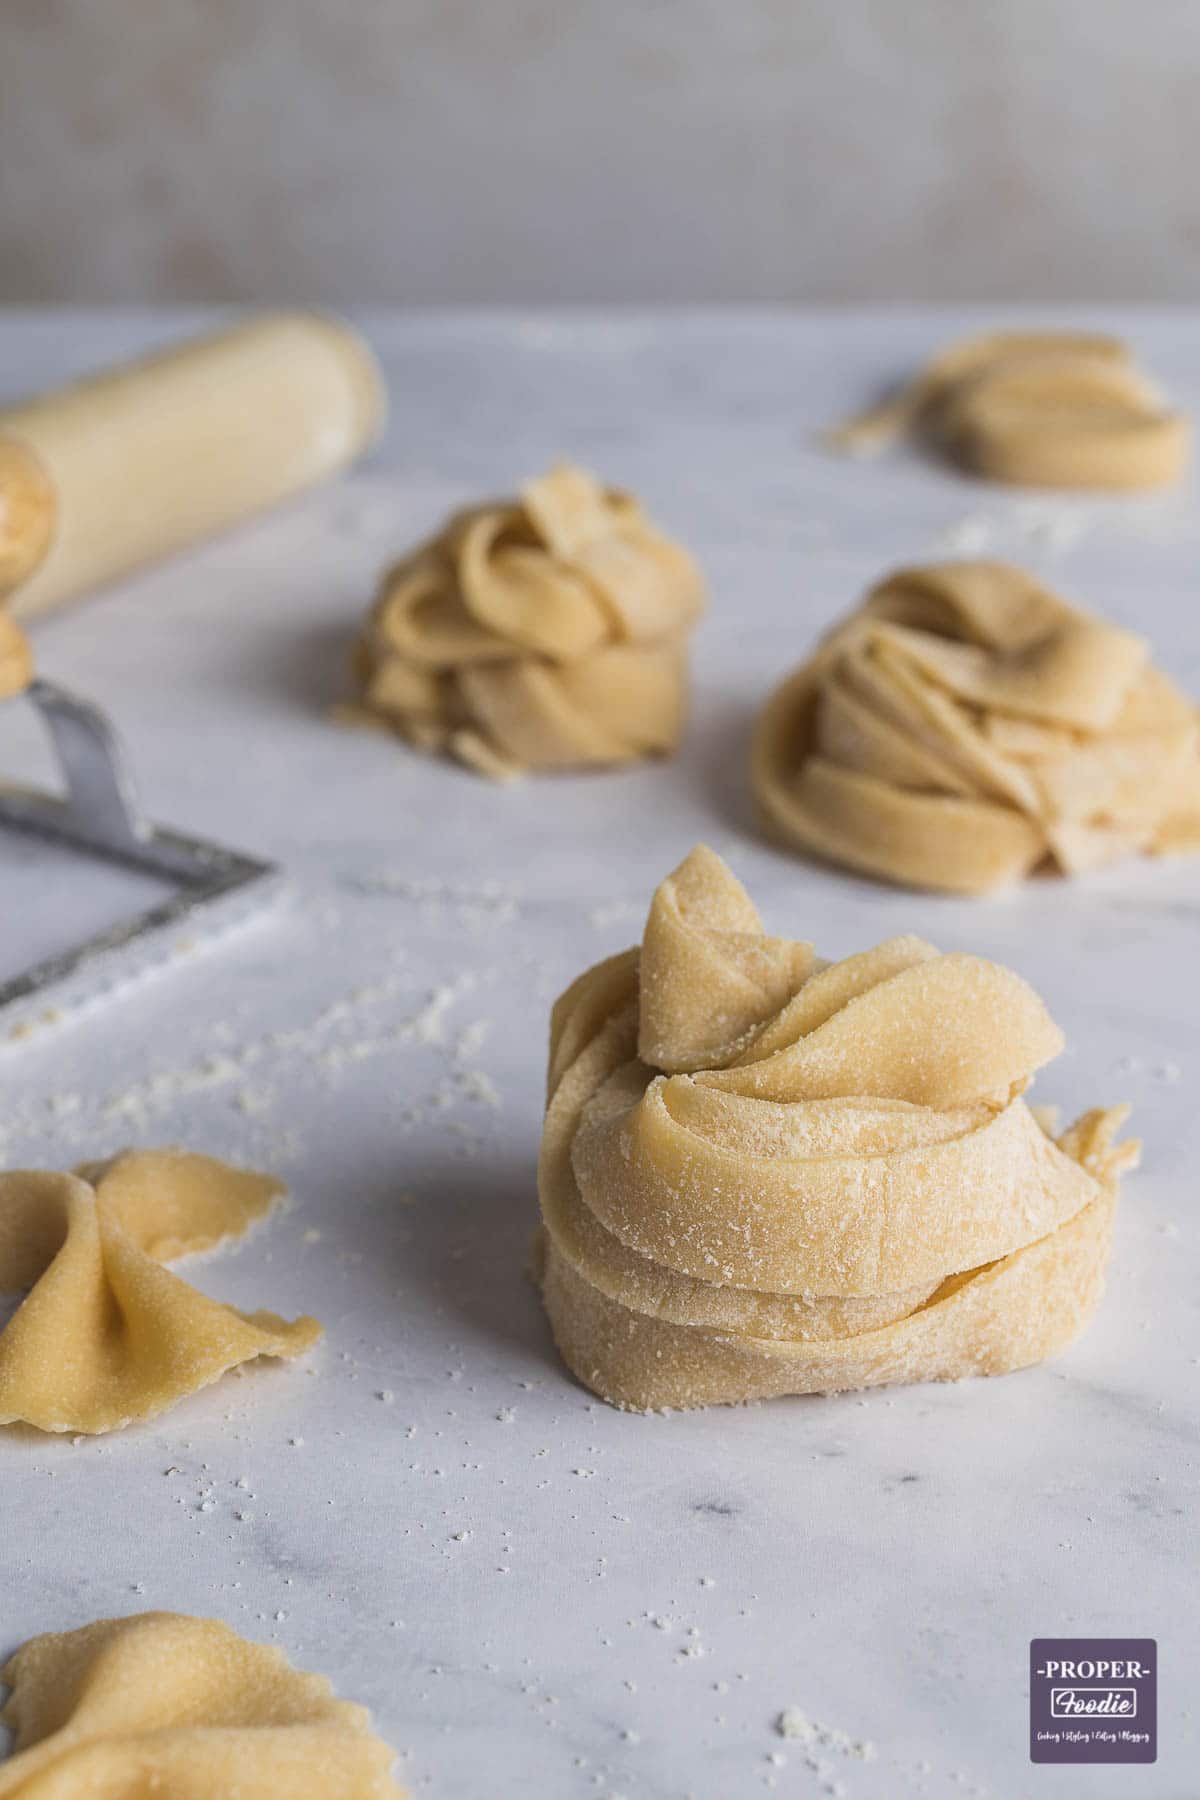
- If you aren't ready to cook your pasta right away, its important that you don't let it dry out. Roll up your raw strips of pasta into nests and place onto a semolina-dusted tray along with any pasta shapes. Cover with a damp cloth until ready to cook.
- For best results cook right away: Place a pan of water on a medium heat and add a good helping of sea salt to season the water. Bring to a rolling boil and then carefully add your pasta. Immediately stir with a wooden spoon to check nothing has stuck together or to the bottom. Boil at a tremble for 3 minutes, then drain and serve. (If you are serving with a sauce - ladle out some of the pasta water into your sauce to add to the consistency).
💭 Expert tips
How to knead pasta dough
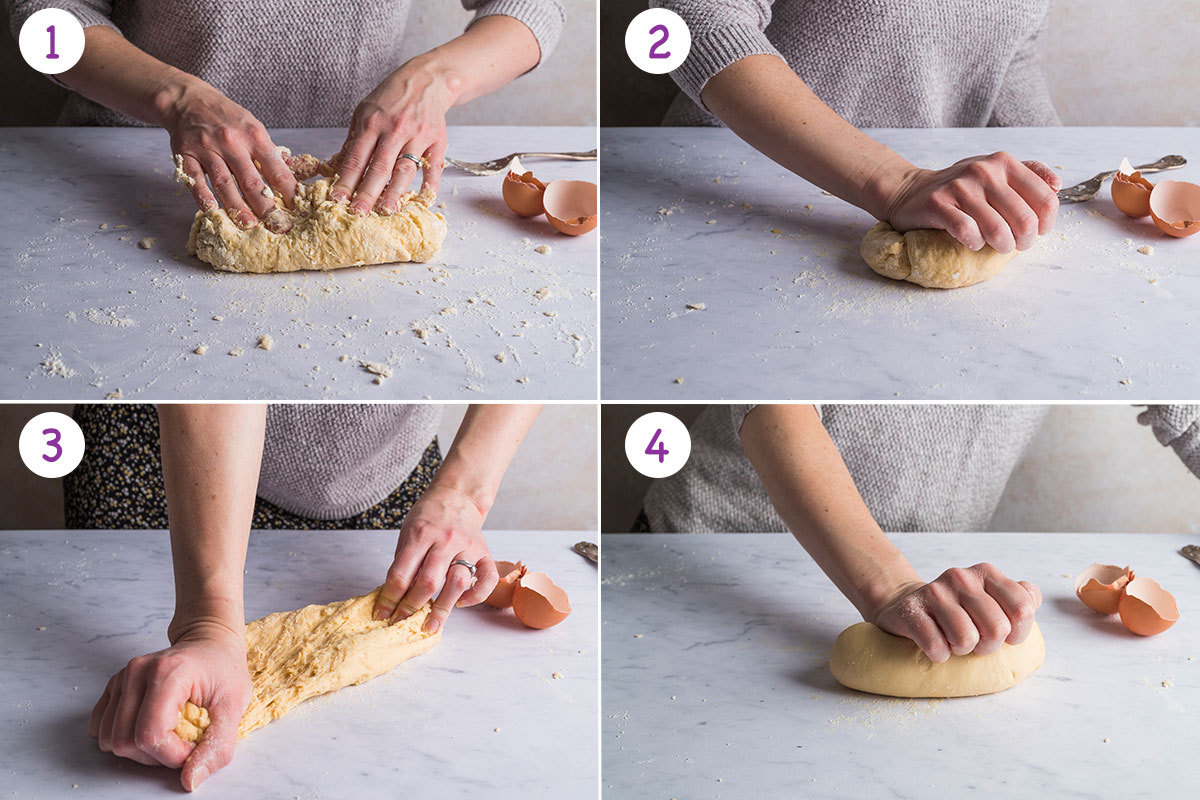
- Once most of the egg has been combined with the flour, use your hands to bring together into a dough. It may appear quite dry at first but the more you combine the flour the sticker it becomes.
- Use the heal of your hand to begin working and kneading the dough
- As it becomes less sticky start to stretch and fold back on itself in between kneading.
- Continue to knead and stretch for at least 15 minutes until the dough becomes soft and smooth.
How to roll pasta dough
- After kneading and resting, the dough can be rolled out using a rolling pin or a pasta machine if you have one to hand. Flour the work surface then take one of the dough balls and start to roll out. The dough ball will of course roll into an oval shape.
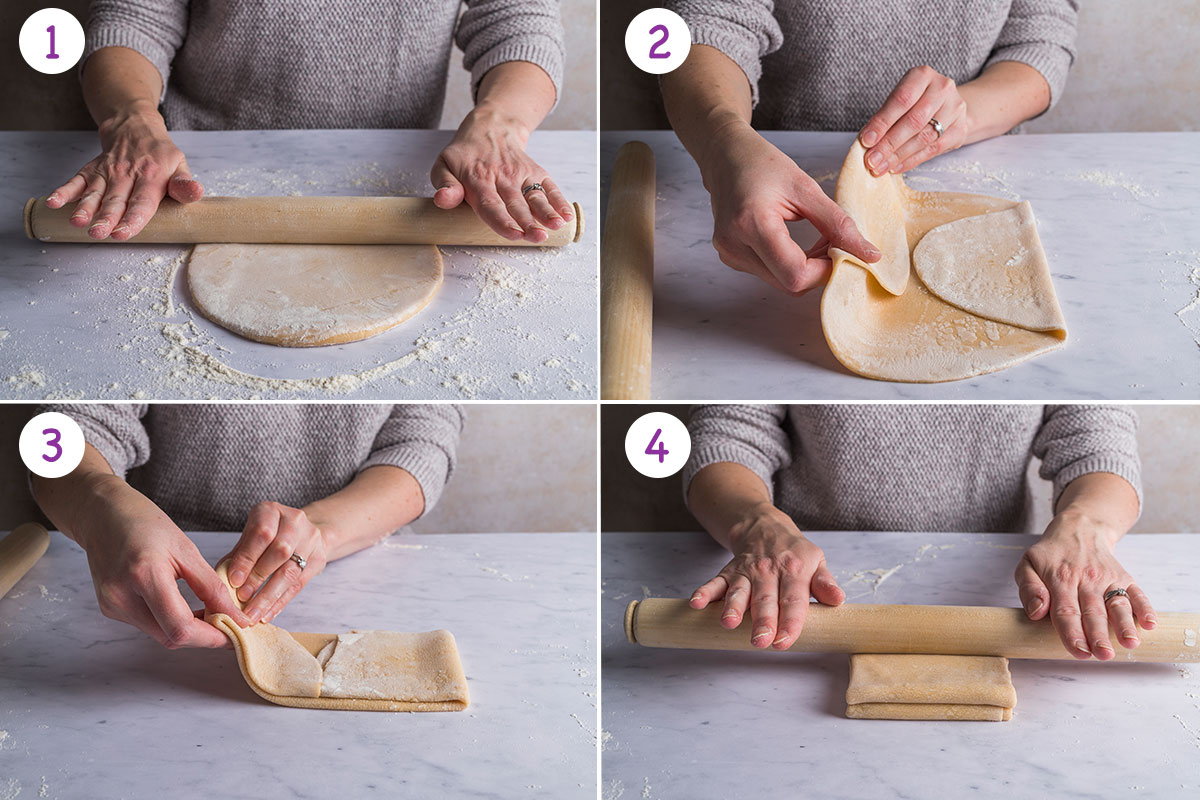
- A rectangular shape is better for cutting pasta as there will be less waste. To form a rectangle fold the edges of the oval into the centre of the dough then fold the full thing in half. Roll over this to flatten down and lengthen.
- Then repeat the folding in of the edges and folding in half. This will create a small square.
- From here evenly roll the dough square into a large rectangle. Roll as thin as possible, turning and flipping the dough and re-flouring as needed. Plenty of elbow grease will be required to get the pasta dough nice and thin.
❓ Frequently asked questions
Yes, for best results when rolling the dough, rest in the fridge for 30 minutes first by wrapping in cling film and placing in the fridge.
As thin as possible. Ideally you should be able to put a piece of printed paper behind it and just about see the text through the dough.
Fresh pasta is always best cooked fresh as soon as it is made. However, it is possible to make ahead and store if you prefer. A kneaded pasta dough ball can be wrapped in cling film and stored in the fridge for up to 1 week, then rolled and shaped as required.
Rolled and cut out pasta dough can be covered with a damp cloth in the short term (an hour or so) or frozen in the long term. Make sure pasta strips are wrapped into nests in both cases. To freeze place the pasta nests or cut out shapes onto a floured tray and place in the freezer. Once frozen transfer to a freezer bag and store in the freezer for up to 3 months.
🍝 Homemade pasta serving suggestions
- Creamy Mushroom Pasta
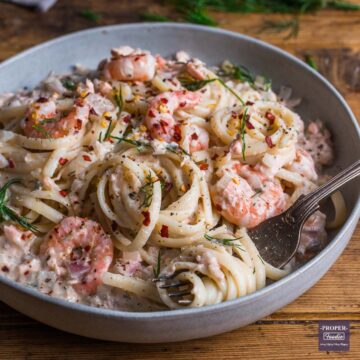
- Salmon and Prawn Linguine
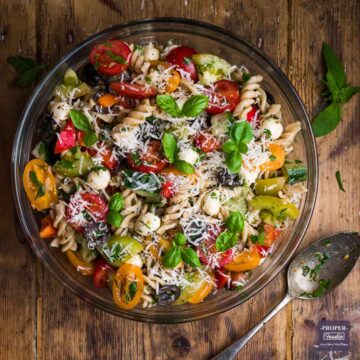
- Italian Pasta Salad
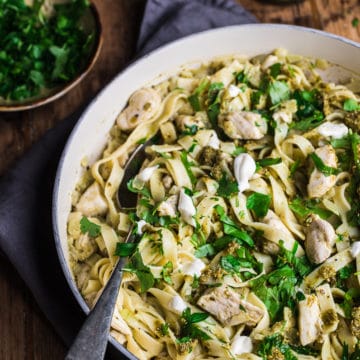
- Chicken Pesto Pasta
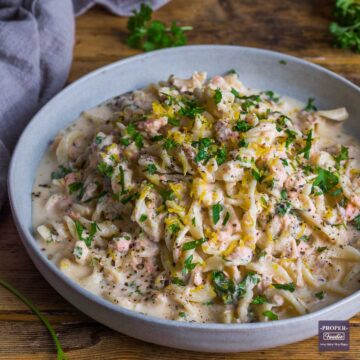
- Salmon Pasta Recipe
- Basil Pesto Recipe
- Italian Style Slow Cooker Ragu
📖 How to get your free pasta making guide:
If you've tried this recipe, let me know what you think by leaving a star rating in the recipe card or comment section below. I always appreciate your feedback! You can also follow me on Pinterest, Facebook or Instagram or Sign up to my email list!
📖 Recipe
How To Make Pasta
Equipment
- Sharp knife and/or
Ingredients
- 300 g 00 Flour
- 3 large eggs
- Durum Wheat Semolina for dusting
Instructions
To make the pasta dough:
- Place the flour on a clean work surface and make a large well in the middle. Crack 3 large eggs into the well.300 g 00 Flour, 3 large eggs
- Use a fork to gradually mix the flour into the eggs. Start from the middle and work outwards.
- Once most of the flour has been combined, use your hands to bring together into a dough. It may appear quite dry at first but the more you combine the flour the sticker it becomes.
Kneading the pasta dough:
- Use the heal of your hand to begin working and kneading the dough. As it becomes less sticky start to stretch and fold back on itself in between kneading.
- Continue to knead and stretch for at least 15 minutes until the dough becomes soft and smooth and then shape into a ball. You know its been kneaded for long enough if the dough bounces back when pressed with your finger.
- Split the ball in half, wrap each half in cling film and place both in the fridge to rest for 30 minutes.
Rolling the pasta dough:
- After kneading and resting, the dough can be rolled out using a large heavy rolling pin or a pasta machine if you have one to hand. Flour the work surface and evenly roll out one of the dough balls. The dough ball will of course roll into an oval shape.
- A rectangular shape is better for cutting pasta as there will be less waste. To form a rectangle fold the edges of the oval into the centre of the dough then fold the full thing in half. Roll over this with the rolling pin to flatten down and lengthen.
- Then repeat the folding in of the edges and folding in half. This will create a small square.
- From here evenly roll the dough square into a large rectangle. Roll as thin as possible, turning and flipping the dough and re-flouring as needed. Plenty of elbow grease will be required to get the pasta dough nice and thin.
Shaping the pasta dough:
- Sprinkle the thinly rolled out dough generously with the semolina to stop it sticking to itself when making pasta strips. Then roll the full rectangle of dough into a tube shape, trim off the untidy ends then cut into: half cm strips for tagliatelle; 1mm thin strips for spaghetti; or one and a half cm strips for pappardelle.Durum Wheat Semolina
- Take the ends of the sliced strips and pull upwards allowing the weight of the dough to unravel the strips.
- Alternatively, leave the dough flat and cut out squares with a square pasta cutter and pinch into farfalle (butterfly) pasta shapes. Or why not have a go at making your own ravioli.
Cooking homemade fresh pasta:
- If you aren't ready to cook your pasta right away, its important that you don't let it dry out. Roll up your raw strips of pasta into nests and place onto a semolina-dusted tray along with any pasta shapes. Cover with a damp cloth until ready to cook.Durum Wheat Semolina
- For best results cook right away: Place a pan of water on a medium heat and add a good helping of sea salt to season the water. Bring to a rolling boil and then carefully add your pasta. Immediately stir with a wooden spoon to check nothing has stuck to the bottom. Boil at a tremble for 3 minutes, then drain and serve. (If you are serving with a sauce - ladle out some of the pasta water into your sauce to add to the consistency).
Video
Nutrition
Notes


This post was first published in Nov 2017. Updated in Jan 2022 with new images, step by step instructions and expert tips.

Kat (The Baking Explorer)
What a fab guide! I'd love to do a pasta making course!
Debbie
Thanks Kat - I'd highly recommend doing a pasta course - particularly if you happen to be in Italu!! So much fun 🙂
Because Food Is Love
Great post! I love Italian food, and pasta is my favorite. It's so amazing that you got to learn to make pasta in Italy! Love your photos and the step by step instruction. You've inspired me!
jenny paulin
what an in-depth and informative look at making pasta Debbie, your photos are making me very hungry! Making my own pasta is something I want to try ,but as of yet I have not.I think this might have to be a resolution for next year x
hijackedbytwins
I did make my own gnocchi a couple of weeks ago and loved it so I definitely need to take the next step and make my own pasta! Thank you for sharing with #CookBlogShare x
applytofaceblog
I've been dying to do it for ages and just been a bit scared to be honest.Your pics have inspired me. I thought you had to leave it to dry before cooking it and I just didn't quite know how I was going to do that!!!! Watch this space!!
Recipes Made Easy
Great post Debbie. Like you I love making my own pasta. Sometimes I get together with a couple of girl friends we make pasta then eat it and drink Italian wine. It is a great way to spend and evening.
Debbie
Thanks Jacqui - oooh that sound like a great night! I'm definitely going to have to do that!! 🙂
Corina
I love your video Debbie and I'm impressed by how thin you managed to get it without using a pasta machine to roll it. You've made it really clear and hopefully it will encourage people not to be scared of making their own pasta. I've made it a few times and even done it as an activity with my kids as they love anything that involves playing with dough. Thanks so much for sharing with #CookOnceEatTwice
Debbie
Thanks so much Corina! I do actually have a pasta machine but much prefer to use the rolling pin. Plus I used a rolling pin in the pasta making classes ive done in Italy:-) Its always a super large one though which is why I purchased the longest one I could find 🙂 Yes - I bet it really great to make with kids - I imagine they would love it 🙂
Helen at the Lazy Gastronome
You make this look so easy- I'm going to have to try making pasta again! Thanks for sharing at the What's for Dinner party!
Debbie
aw thanks Helen - and it is super easy 😉 Thank you for hosting 🙂